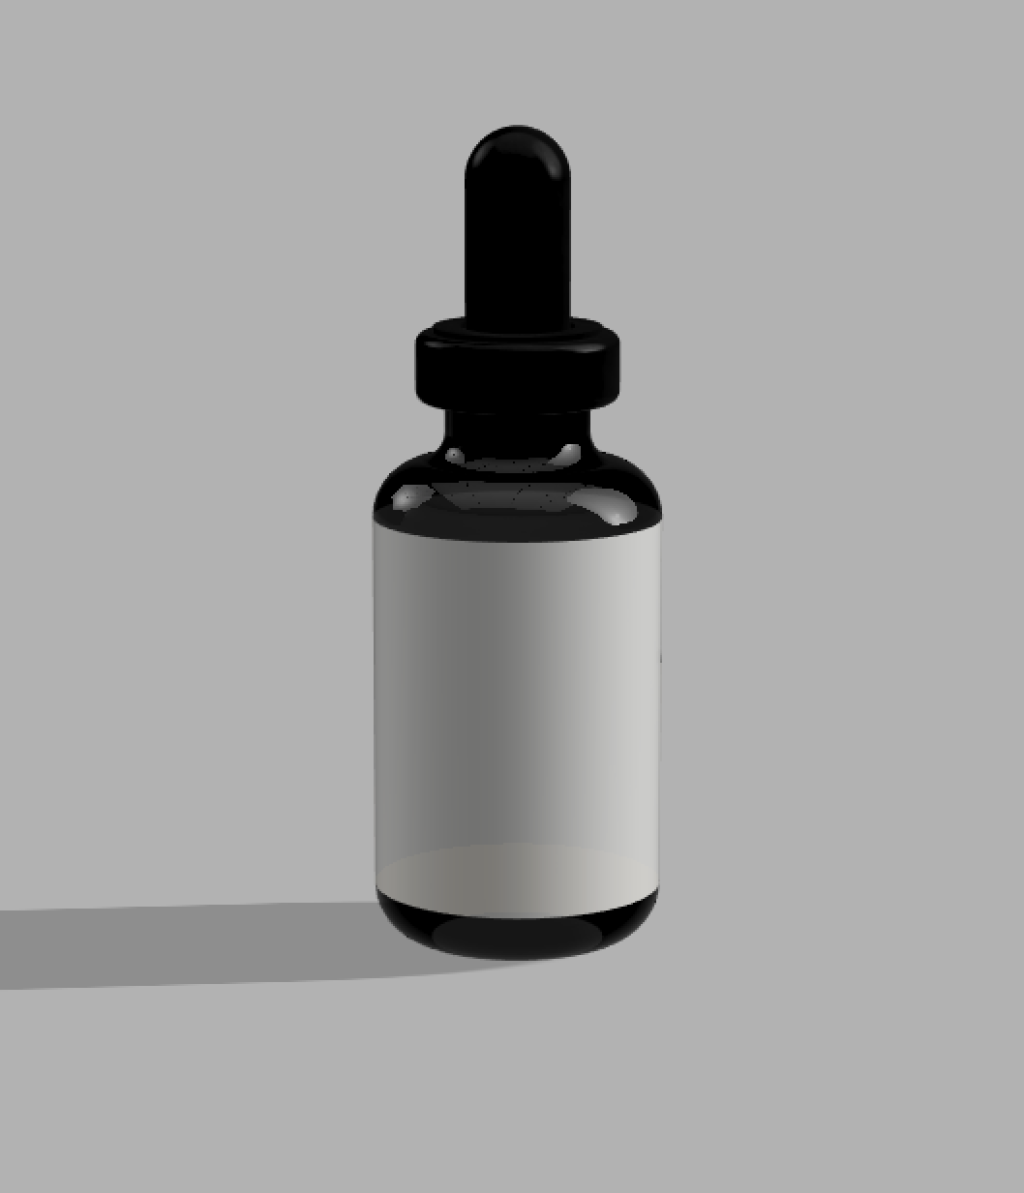

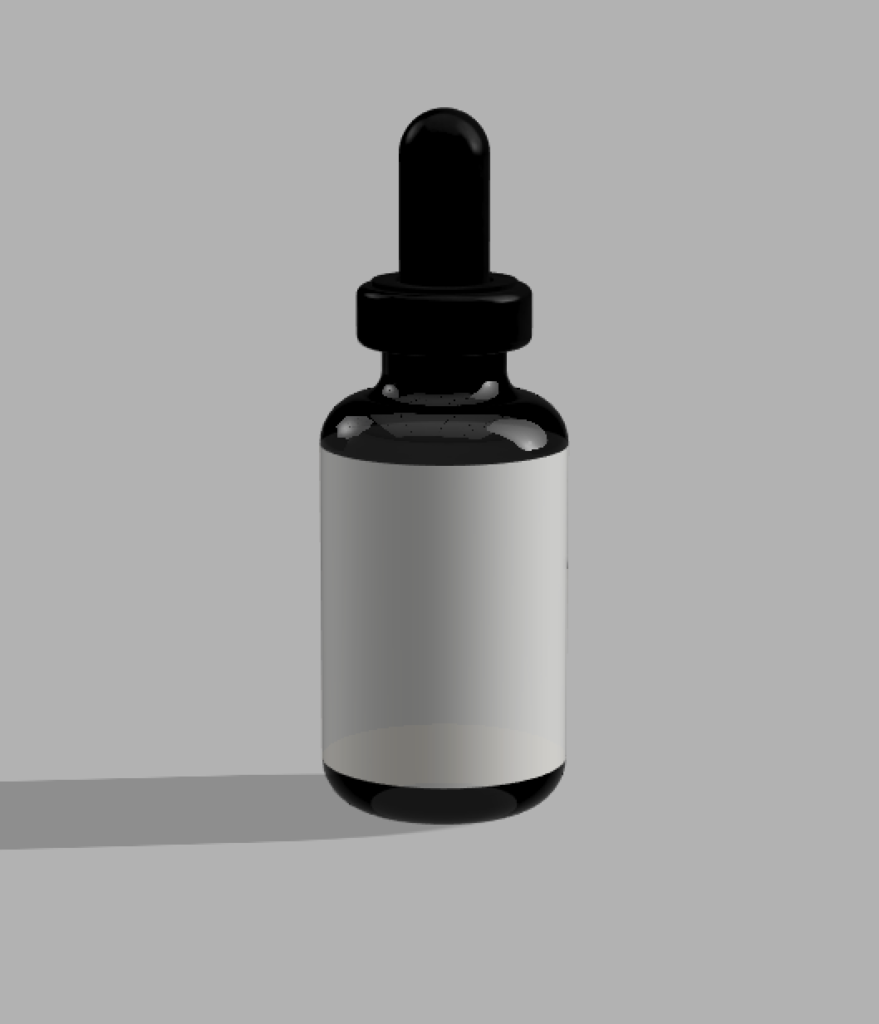
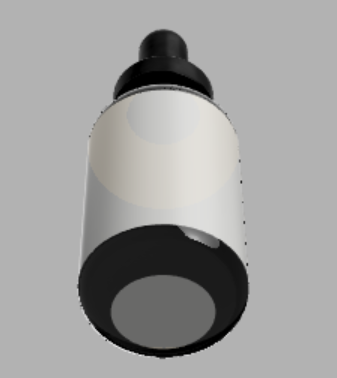
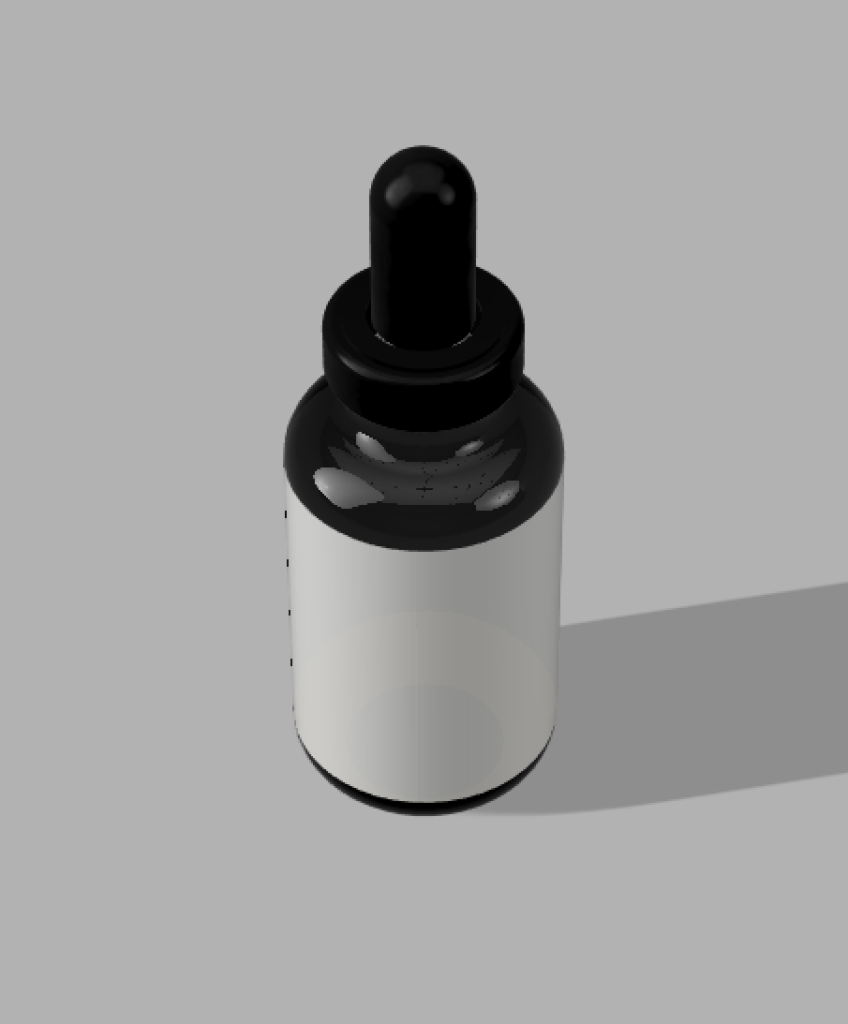
My process of making this model encompassed many ups and downs. The initial trial and error when navigating the interface was frustrating, especially because I had originally chosen an object with more complicated shapes than the oil bottle. However, once I hit a roadblock, I decided to change my object into something with more distinct and circular components. Still, it was difficult to find the correct proportions for my object. When I first attempted making it I did not have my object in front of me which altered my perception of the bottle’s proportions. After I made and remade my model many times because of proportional issues, I found that once I had the reference object to compare proportions it was much easier to figure out. I realized that adding textures also helped the 3D model come together, as the flat, white model looked stiff without the correct colors and textures.
As I tried to form my model closer and closer to what the real thing looks like, I realized that there were far more details than I first saw when picking this object. Firstly, the bottle has curves that merge into each other to create a continuous smooth surface. I was able to achieve this look using the ‘fillet’ tool, which was hard to control at first, but after toying around with it I could pull the edges together easily. Most of what I had to compromise was the small details, especially the ridges on the bottom of the pipette cap. Again, this was a detail I didn’t realize until I further inspected the bottle closely, and while it was probably possible to make this pattern, it is a detail I decided to compromise.
Even at the inexperienced level I feel like I am at, I still believe that a simple model like this could hold a lot of potential for humanistic inquiry. The program’s ability to construct shapes, colors, and textures immediately made me think of its uses in an art room for teaching. Using 3D modeled objects as references for studio art or base models for digital art could both impact how art is taught and experienced by a classroom. The 3D recreation of historical monuments or artifacts could also allow historians or teachers to visualize early parts of life in a sharable and moldable way.
A tip I would give to other novice Fusion 360 users is to explore the tools that the interface provides. It took me a while to find the tools that would achieve what I wanted, and sometimes I found a tool I wanted but I didn’t know how to mold it towards my wants. Exploring the options of the program and not giving up are what allowed me to finish and be proud of my model. I also think working alongside someone else was a huge help for me, since we could bounce off each other what we were finding in the program and ask each other questions.

Hi Mya! I love how you pointed out the importance of having a reference object — it’s surprising how much we miss when working from memory. Your insight about noticing more details as you modeled is really interesting. Did this project make you more aware of textures and small details in everyday objects? Also, I think your idea of using 3D modeling for recreating historical artifacts is fascinating — it could really make cultural heritage more accessible!
This model looks amazing! I’m also trying to figure out how to make connected parts look seamless, and I’m not very familiar with the fillet tool. Your explanation of it in your post is really helpful! I was wondering if you could expand on how to use the fillet tool since it seems to be both a challenging and frequently used feature. Also, your advice about exploring the tools in the interface made me realize that I’ve been relying too much on the shortcut key “B” (the search function) during my work, which has left me unfamiliar with the interface. I’ll try to get more familiar with it in the future!
Thank you! I personally do not have much knowledge on the fillet tool, but once I fiddled around with it I learned that it would pull the edges from a certain shape to smooth it out. I didn’t use the fillet’s big arrow much, rather I would put in a number that corresponded how large I wanted the curve to be. I also did not know about the search function with “B” so thank you for sharing that!!
Great job! I agree that it is very important to be comfortable with the interface and the available tools. That is something I want to do a better job with going forward. It’s also interesting how well you were able to model the curves. In my model I did not incorporate rounded objects (besides rounded corners). I assumed it would be difficult to do and it wasn’t something we went over in class so I avoided it. Seeing your model I will definitely try some more complex rounded objects!
The bottle looks great! I hadn’t even considered the uses of 3D modeling in teaching art, but that sounds like an interesting potential use. As someone who really absolutely can’t draw, I’d love to see how using a model like this would help. I think maybe the specific measurements and being able to rotate an object to whatever position is necessary would be helpful, sort of like those wooden pose figurines but digital.
Wow! Excellent job on this Mya, this model looks fantastic! I especially like your use of textures in the bottle, it gives it a very realistic feeling. I was actually trying to work with textures for my own model, but wasn’t quite able to get the hang of it like you! I completely agree that working next to a classmate was extremely beneficial for the process of building our first 3D model. Talking through our ideas and having the opportunity to ask questions made the experience much more enjoyable and efficient.