Hello all! Documented here is my attempt at creating a right joy con from the Nintendo Switch system, overall considering the amount of skills for 3D-modeling I had before starting this (so none) I would say it was an overall success!
Since I have found that the style of these is semi-informal as such I decided that the way I would answer the questions proposed in the rubric was to follow the order of them and separate them by pictures of the model, I hope I am able to portray this properly in the rest of the blog however I am going to take this as an experiment for this style of writing!

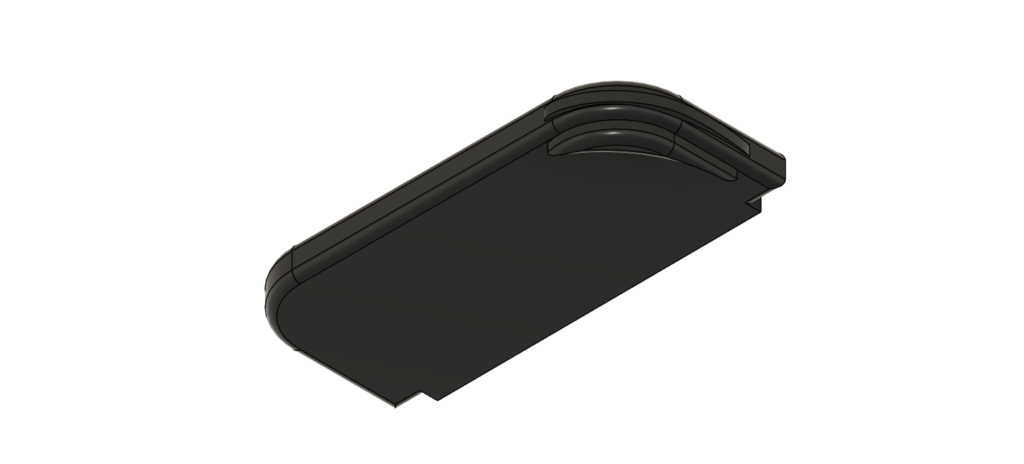
The difficulty of creating this for me was all around, I think I started with a really solid idea, once I figured out how to actually create a sketch (which took longer than I would like to admit), making the rounded edges for the base and the connecting bar as well as the R1 trigger was surprisingly easy! On the other hand once I figured out the extrusion (which also took longer than I would like to admit), the rest modeling was pretty much just smooth sailing.
In general I would say it was a 6.5/10 on the difficulty scale (again, everything took figuring out but once figured out it was kind of easy, thats why its only 6.5 and not 8.5 as I originally wanted to label it).

From the previous paragraphs its easy to infer some of the things that bogged me, as such I am going to not talk about them and instead talk about colour.
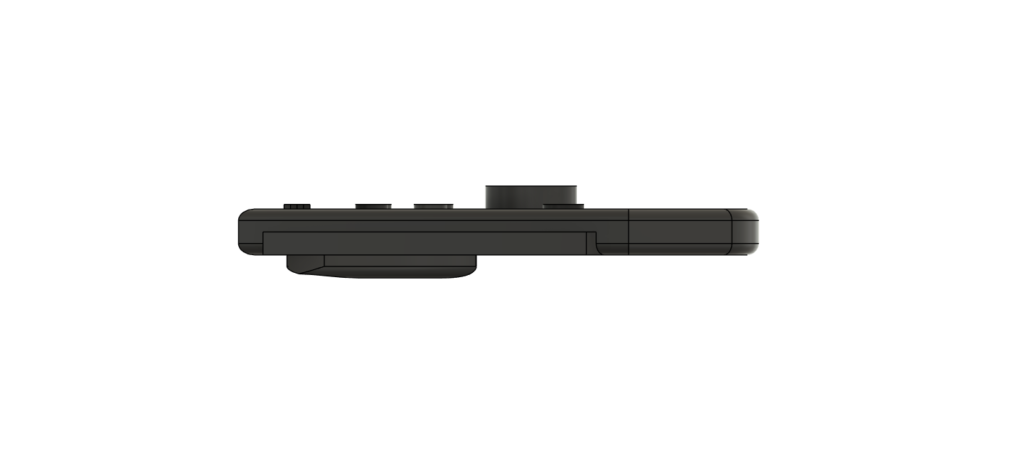
Colour I just cannot say I figured it out, for some reason once I got fairly deep into changing the colour of the buttons and triggers to the black that the model now has all around, it decided to just turn everything into a weird dark bronze colour that was also somehow translucent? I am not sure how to explain it properly but essentially the bases of the buttons could be seen from the bottom (which as evidenced by the picture above should not be the case since you cannot see them here).
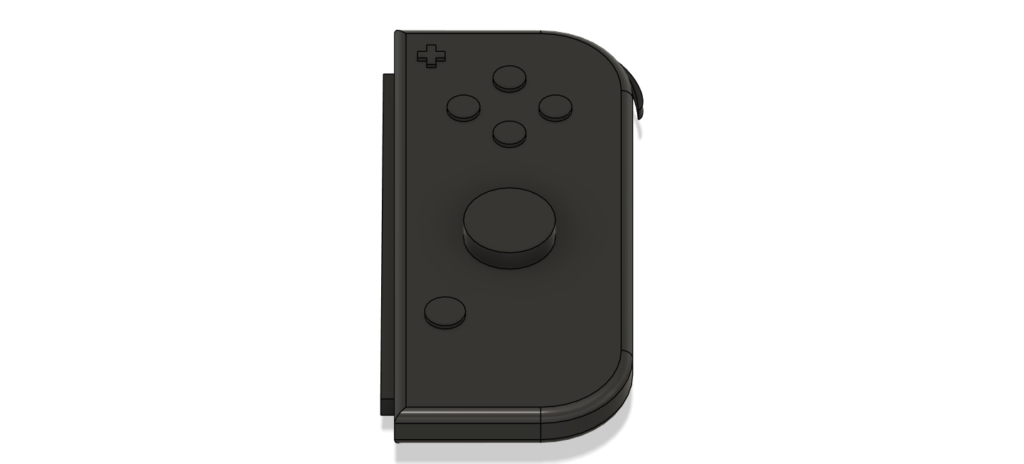
The first compromise was the R1 trigger, I could figure out how to have it be attached to the rest of the model so that is why it is just kinda floating there, I think if I had gone a different path to how I made that part of the model I could have probably figured it out, however at the time of this writing I am still not sure what that path would be. With this also goes the mention that the joystick is like a big button rather than a joystick because I also am not sure how I would have been able to design a joystick.
The final compromise I had to make was the colour, after those struggles mentioned before I decided to keep everything is this nice black almost matte colour that I really liked, which even if I would have liked to go for the accurate colours of a joy con, I do not dislike the way it turned out.
3D modeling is such a wonderful tool in the sense that with how much the technology has advanced by now, for classrooms for example, a professor would be able to project a model of an ancient base that was scanned beforehand and have the students figure out things about the vase that they would otherwise only be able to find out if they saw it in person, such as its actual size in comparison with say a dog (I am unsure why anyone would want to make this comparison, but maybe they were trying to figure out if ancient civilisations also had dog bowls). This gets further ahead if we consider the rise of VR equipment, now not only would the students be able to look at the object, but also interact with it in some ways almost directly.
Essentially the main use that I see in a humanistic sense is for better visualization of objects, by better to be clear I mean more intimate in a way as it is not the same to look at something in a video or a picture that it is to look around it at your own pace and however you want.
Lastly a tip that I would share is that, say you create the perfect 2D sketch, it has everything your model is going to need in the later stages, but you forgot that if you extrude and you don’t extrude everything to the same size (likely to be the case since we want things to have depth), you will loose the parts of the sketch you did not extrude. In this case you should not stress, before you extrude, create a new sketch on top of the original one and trace it and it will work almost perfectly, I know there are better practices (or at least I do after discovering this trick), but this works as a last ditch effort to save all the time you spent on the project so far if you did not know those practices or forgot them because you were too excited about creating something!
This is great! I really appreciate the attention to detail in your design. I like how you used the 2D sketch to create the model—it’s a creative approach. I’m sorry the color didn’t turn out as you had hoped, but thank you for sharing the tip about using 2D sketches. It’s super helpful as I’m trying to learn how to use them too!
This post caught my attention as I own a Switch myself and was curious to see how your model turned out. Despite the difficulties that you outlined in your post, I think you did a really good job of capturing the general shape of it and incorporating every small detail. Just a general tip to address your issues with the color. If you make each component (buttons, joystick, base, etc.) be its own body, you are able to freely modify the appearance of each component without changing the other components. Overall, very nicely done and looking forward to your future work!