For my assignment, I decided to model the picture frame I have on the desk in my dorm room. In real life, it has a picture in it (of my mom, dad, and brother), but for the sake of simplicity, I just tackled the frame itself. I was going for an object with a lot of straight lines and edges, since I’d had a hard time figuring out the basics of Fusion in class, and anything much more complex than a die was going to make me really frustrated really fast. 🙂
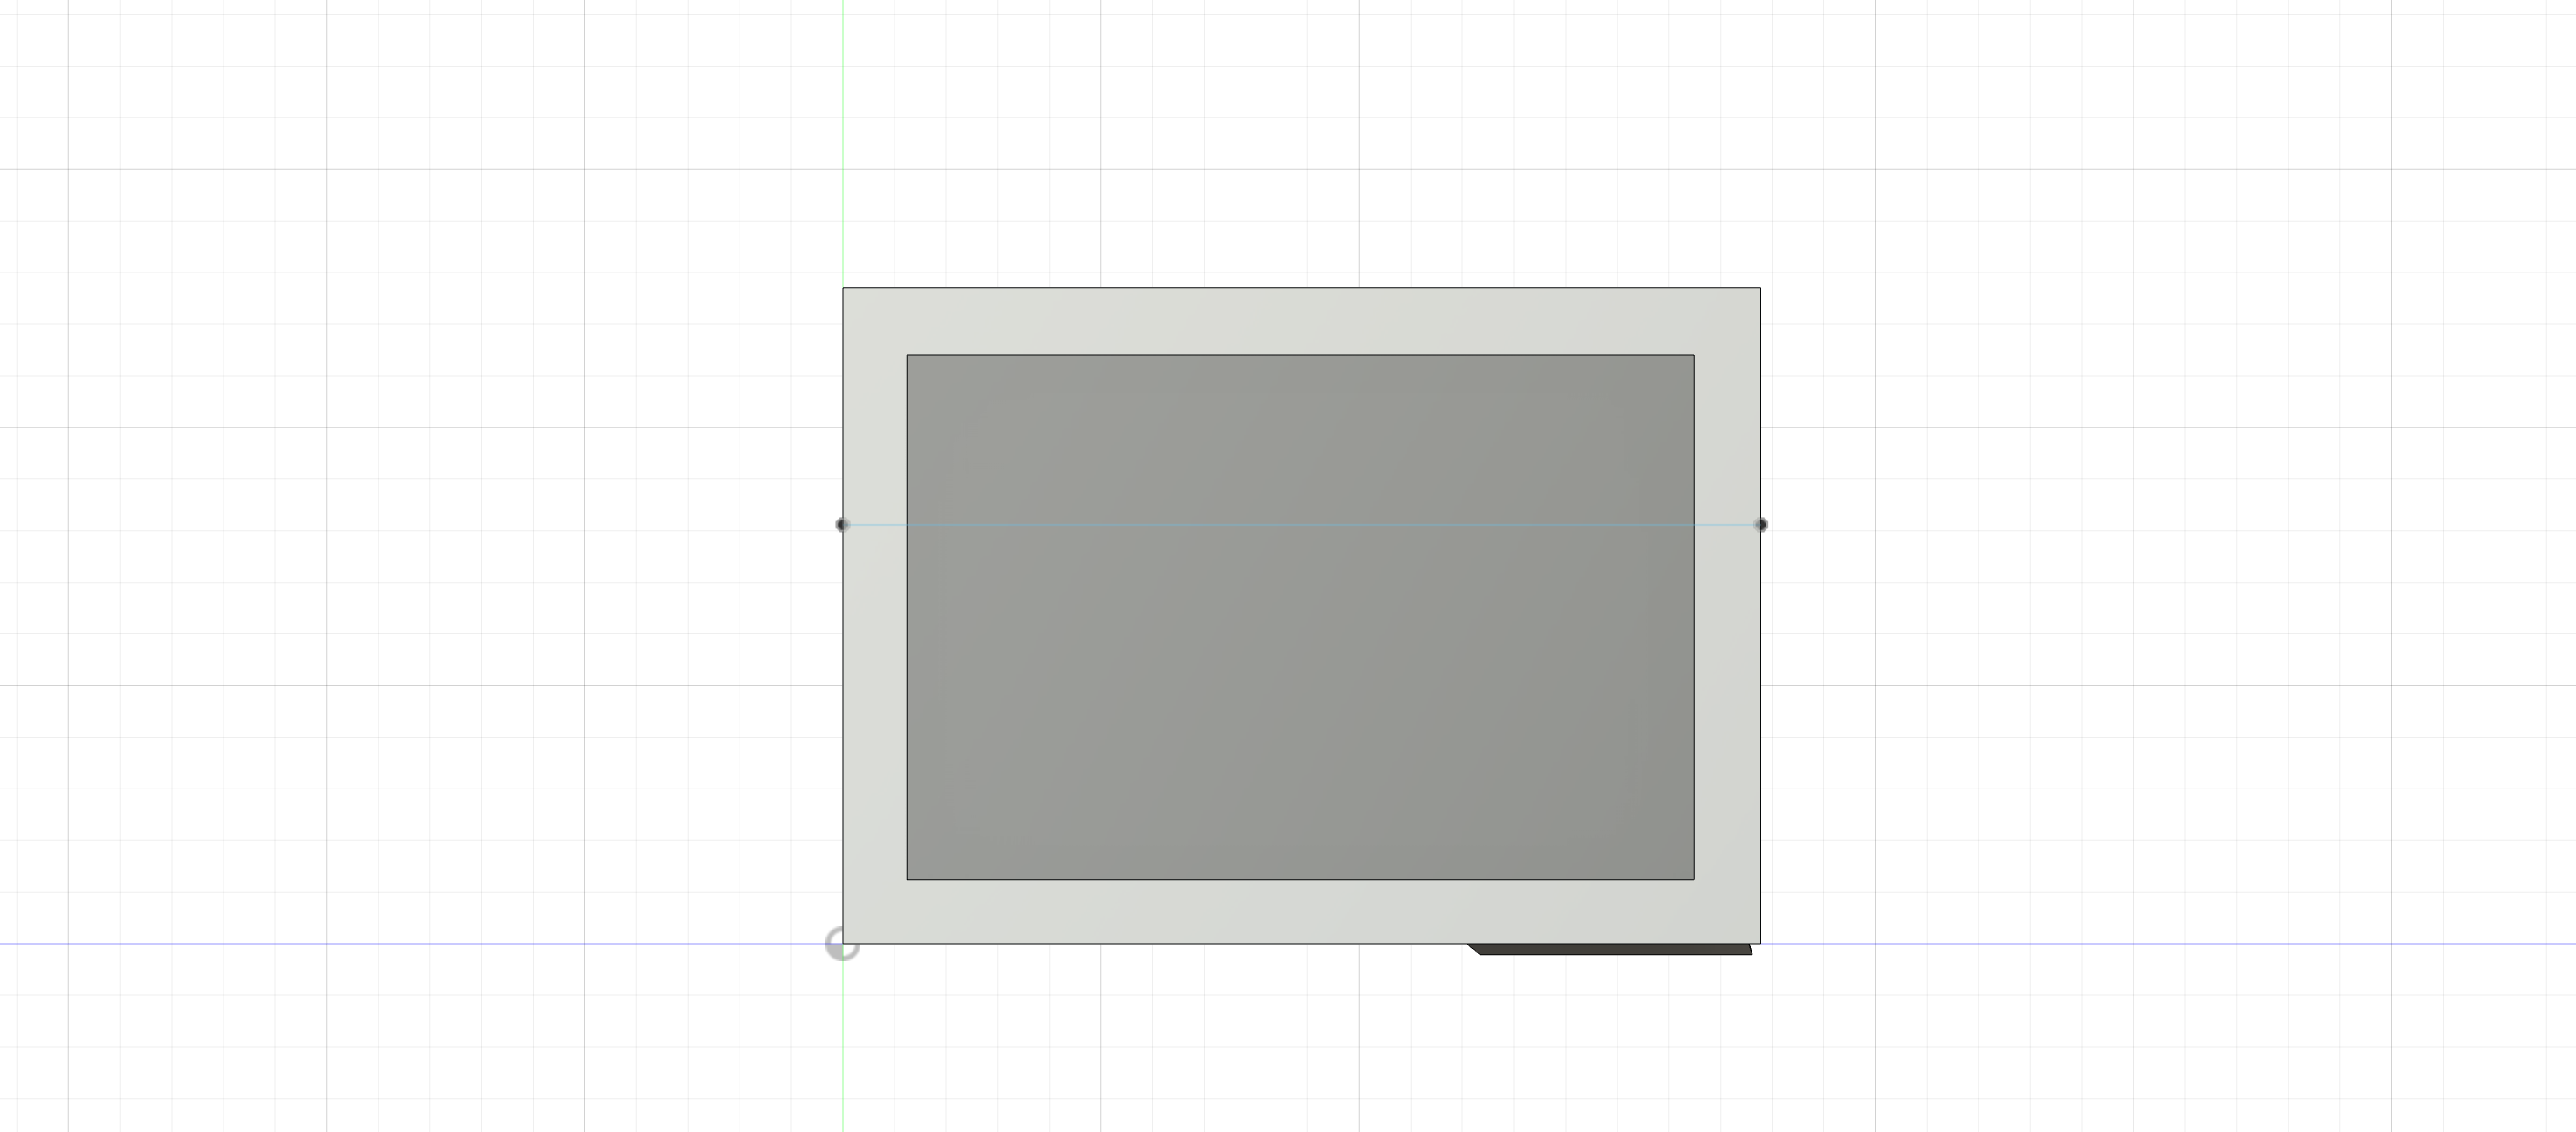
Overall, the process wasn’t extremely complicated, but I did run into a couple roadblocks. I started off by watching a couple of YouTube videos and reading some official guides. Sketching the basic shape of the frame wasn’t incredibly hard. When I got to the sketch for the picture-viewing area, I realized I didn’t know how to center it precisely in the frame, so I just eyeballed it and hoped for the best. It looked like this:

One tricky thing that I wanted to add was the angled picture frame stand. Based on a YouTube tutorial I watched that explained offset planes, I figured out that I’d need to create an angled plane to draw the sketch on. With a little messing around, I got the plane to start on the point on the back where I wanted it to. (Tip: draw a line in Sketch mode, then select it when you’re ready to create your plane!)

I don’t have a picture of the stand in progress, but I eyeballed the measurements and general shape. (In the future, I’d like to try paying more attention to precise measurements and angles!)
With that down, all that was left was to add the glass. I made a new sketch that fit exactly into the recess for the viewing area and extruded it just a little bit. Then I had to get into the Appearances tab. I had a lot of trouble setting the appearances for everything before I figured out that I had to drag the desired material onto the body or face I was trying to change. Because I had created the whole picture frame besides the glass and the stand as one body, I was worried I wouldn’t be able to make the back of the viewing area a soft velvet with the actual frame appearing metallic. However, I had nothing to fear! Here’s the glint of the glass (and the fabric backing) once I was done setting appearances — you can see a bit of the frame stand as well:

And here are the other final pictures:

In terms of how this technology could be used in the humanities, I could imagine a number of uses: students could look at a model of an artifact that’s thousands of miles away in a museum, allowing them to observe it more thoroughly than with just a 2D picture, for example. I’m having trouble coming up with uses that are significantly different from that one, though, so I’d like to keep thinking on the subject!
In the end, although I was pretty scared, 3D modeling wasn’t completely terrifying. I’m still very much a novice, however, and I’d like to try and get better in the future!
First off, the picture frame looks great! I am interested in how you were able to create the offset plane. In my 3D model there were a few places in which it would have been ideal to create an angled plane much like you did. I also would be curious how difficult it would have been to make the picture itself angled too. A slight lean back on the actual frame would make it look as if it’s actually balanced on the floor. One thing I am unsure about, if that was done, is whether drawing and extruding would follow the same process on an angled plane. Of course I am being a bit nit-picky here but overall the model is great!
I really like the way that the frame came out, I think that even if the measurements are not exact as per your words, if I had not read that, that was the case then I would have never made that assumption since at least to my eyes it looks pretty symmetrical! Additionally thank you very much for that tip! I had not thought about making something go diagonally yet and the fact you already did it is fantastic, I’m sure it took a couple of tries so great work!!
I’m really intrigued by how you did the stand as I had stuck to a round object I didn’t really get to mess around with some of the tools regarding planar faces. I also had the same use case for 3D modeling and did it for my assignment. I like the texture you put on the stand, it really gives the eye something to latch onto. Also if you did want to go back and put the picture in there’s a decal function where you can put images onto your model!
Your comment about what uses 3D modeling could be used for in digital humanities inspired me to do a little bit of research myself. Because I too could only think of a few uses from the top of my head. I agree with you that it could be helpful to look at a 3D model of an artifact in order to study it’s form in more detail. I also found out about something called 3D digitization which is similar in a way. 3D digitization from what I gathered is basically taking the data collected from an object and inserting that data into a software that creates an accurate 3D representation of that object. This could be useful to alter the object in the 3D software and experimenting in there before changing things in real life.