In this tutorial I will walk through how you can host images and files over HTTPS so they are availiable via the interernet for various projects. There are many applications within DH that rely on direct downloads for images. While it seems like a simple task, and it is, it can be difficult to do if you don’t know what to do.
Specifically I will be outlining how to host files on your own CarlSites sub domain so your files can be accessed anywhere. The process follows theses steps:
- Login to CarlSites and go to the dashboard
- Create a new sub domain to house the folder of files
- Upload your files through the admin site to the new sub domain folder
- Locate the link to access over the internet
- (Optional) Configure HTTPS for secure and encrypted payloads
Step 1:
First you need to log into your CarlSites Dashboard. You will know you are logged in if you see your name in the top left.

Step: 2
Create a new domain to house and access your photos. Click the “Domains” link in the picture from step one, then click “Create a New Domain” in the picture below. This will prompt you to create a new sub domain. All links follow the same structure subDomain.username.sites.carleton.edu/. Fill in the name of your sub domain which should be relevent to your project or files. Also make sure to sub out username for your own username.

STEP 3:
Once the sub domain is create you want to navigate to that sub domains files. You will want to create a new folder to house your files. In my case the folder is “photos”. You will need to do this to for organization and URL strucuture. Click the “+ Folder” button in the top left to do this.

Step 4:
You now should be able to click into the new folder and upload your files into to the folder. Make sure the file names for your files make sense, they will appear in the URL for retrival. Simply click “Upload” then “Select File”.

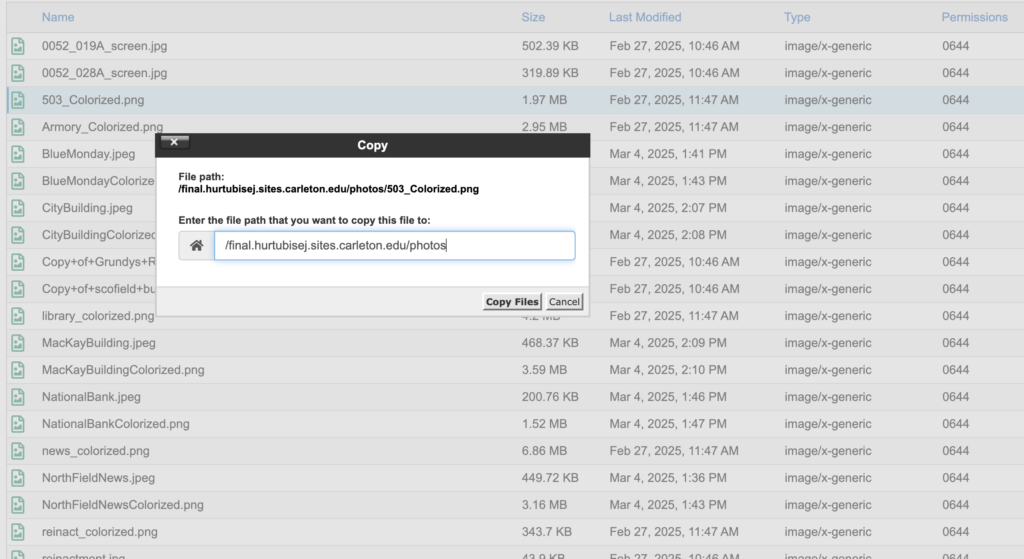
Step 5:
Once you have uploaded all your photos you can right click and press “Copy”. This will bring up the file path for each individual file. All you need to do is copy that file path and add http:/ or https:/ before the copied path. You can then paste this into any browser and recive your file! Note: if you want to use HTTPS you will need to request HTTPS SSL certification, after some time you will then be able to use the HTTPS protocol to access your files.
Being able to host your own files is an itegral skill of DH work. There are many applications, including my own final project, where you might need to do this. I hope the tutorial is of use to you!